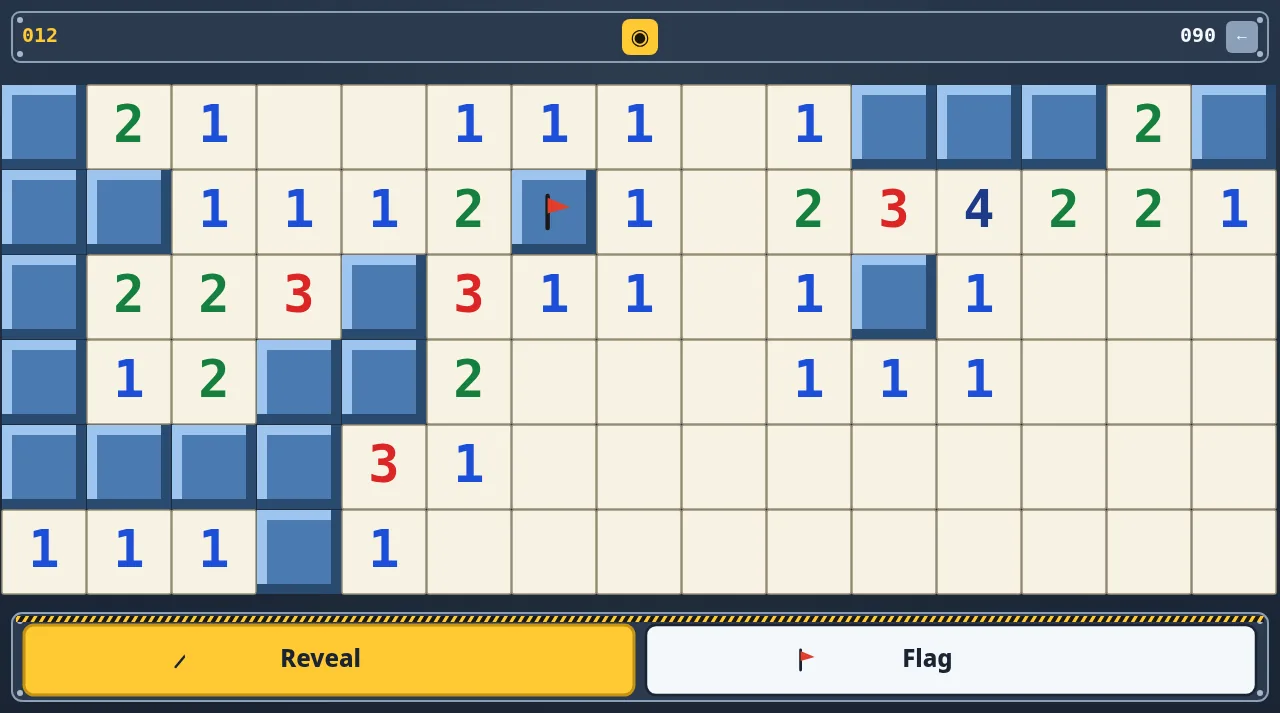
This Minesweeper keeps the classic rules and gives them a bunker theme: the mines are "ore charges", and the title screen asks you to "mark ore charges before they detonate". What sets it apart is the setup. Instead of fixed Beginner, Intermediate and Expert sizes, you pick how many columns you want and what share of cells hide a charge, and the game fits the rows to your screen.
We played the web version on 9 October 2026 in a desktop browser window, and also looked at the menu in a phone-sized portrait window. Every number below is what the game showed us.
Who it is for
- Minesweeper regulars who want a board that fills their screen, from a small 8-column warm-up to a 31-column marathon.
- Learners. The built-in Help is four short illustrated cards, and a low density makes boards forgiving.
- Touch-screen players. Everything works with taps and long-presses, and there is a two-button tool dock so you never need a right mouse button.
Setting up a board
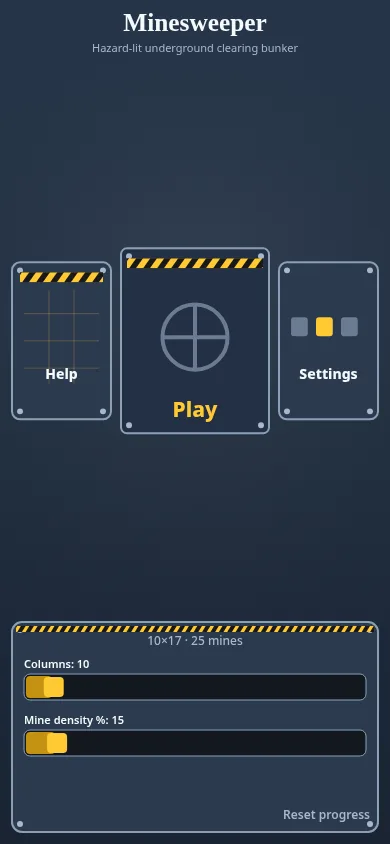
The menu has three cards (Help, Play, Settings) and two sliders:
- Columns went from 8 to 31 when we dragged it end to end.
- Mine density % went from 9 to 71.
Above the sliders is a live summary of the board you will get. The rows come from the shape of your window, so the same setting gives very different boards:
| Window | Columns | Density | Board shown |
|---|---|---|---|
| Landscape desktop | 8 | 15% | 8×4 · 4 mines |
| Landscape desktop | 15 | 15% | 15×6 · 13 mines |
| Landscape desktop | 31 | 9% | 31×13 · 36 mines |
| Landscape desktop | 31 | 15% | 31×13 · 60 mines |
| Portrait, phone-sized | 10 | 15% | 10×17 · 25 mines |
On a phone held upright you get tall boards; on a laptop you get wide ones. Settings holds on/off switches for sound effects and background music, plus a language picker: English, Vietnamese, Traditional Chinese (TW), Simplified Chinese (CN), Japanese, Spanish, Hindi and French. There is also a small "Reset progress" link on the menu, which we left alone.
Controls
The Help cards cover everything:
- Tap to dig. A short tap reveals a cell while the Reveal tool is selected on the dock.
- Long-press to flag. "Hold ~280ms on a hidden cell to plant or remove a flag — any tool." This worked for us with Reveal still selected.
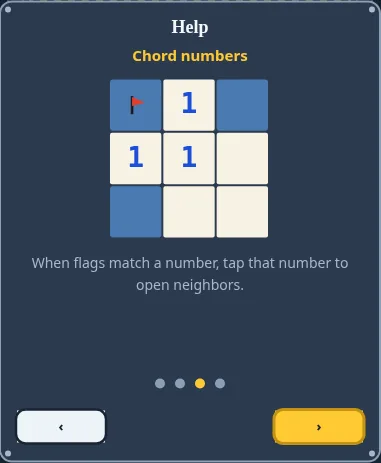
- Chord numbers. "When flags match a number, tap that number to open neighbors."
- Clear the bunker. "Open every safe cell. Hit a charge and the clearing fails."
The dock at the bottom switches between Reveal and Flag. With Flag selected, a plain tap plants a flag, which is handy if long-presses feel fiddly. The top bar shows the charges left minus your flags on the left, and a seconds timer on the right. The yellow button in the middle asks "Start a new game?" before throwing the board away.
Lesson one: the first tap can lose
Our first round was over in one tap. We opened a cell in the middle of a fresh 15×6 board, it was a charge, and the "OH NO… You hit a mine" panel came up. Review board shows where every charge was, and Play Again deals a new board. We can't tell from a single round whether that was bad luck or the rules. What we can say is that the game didn't protect our first tap, so don't count on it.
Lesson two: a full solve, step by step
The second 15×6 board (13 charges) opened a large blank area on the first tap. These are the moves that cleared it, in order. Each one is a pattern you can reuse.
- A 1 that touches one hidden cell. One of the 1s had a single hidden neighbour, so that cell had to be a charge. A long-press flagged it, and the counter dropped from 13 to 12.
- Chord the neighbours. Two other 1s next to that flag were now satisfied. Tapping each of them opened their remaining neighbours at once, much faster than opening cells one by one.
- Read a 4 by elimination. On the right, a 4 had five hidden neighbours. Two nearby 1s had already shown that one of those five was safe, so the other four were all charges. That filled the 2 next to the 4, so the last hidden cell touching that 2 was safe.
- Follow the cascade. One of the safe cells we opened was a blank. Blank cells open their neighbours automatically, which uncovered a whole new corner of 1s and 2s to work from.
- When logic runs out, pick the lowest risk. Once on the left we had no certain move. We counted the possible layouts and saw that some cells were charges in only about one layout in eight. We opened one of those that also sat next to several unknowns, so its number would tell us the most. It was safe and showed a 2, and the next cell followed by logic.
- Use the total at the end. The board held 13 charges, and by now we had located 10 of them. Every possible layout placed the last 3 elsewhere, so the three bottom-left cells had to be safe. Their 1s then pinned down the final three charges exactly.
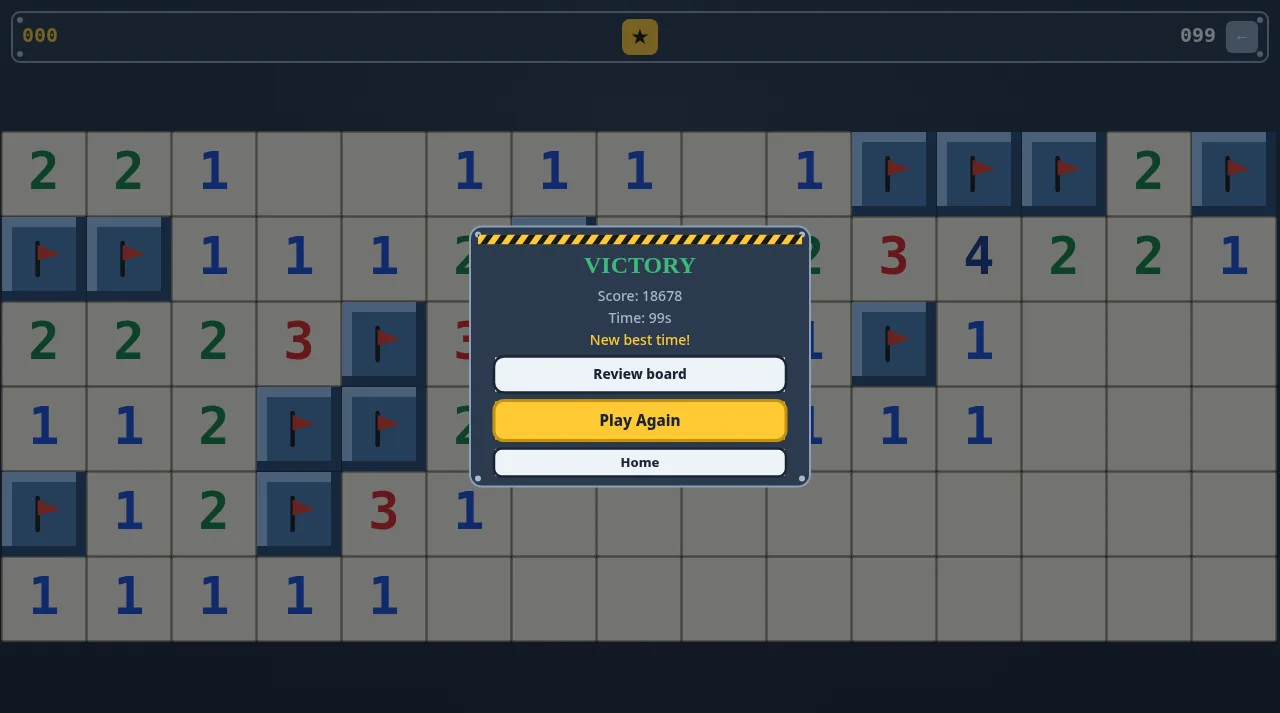
The win screen showed VICTORY, a score, the time (99 s for us) and New best time!. We had planted only one flag ourselves; the game flagged the remaining charges when the board was cleared. In other words, you never have to flag a charge to win. Flags help you chord and help you avoid mis-taps.
Quick tips
- Start small to learn the chord. 8 columns at 15% gave us a 4-charge board, perfect for practising long-press, then chord.
- Mind the window. If a board feels cramped, the column count isn't the only lever. Rotating a phone or resizing a browser window changes how many rows you get.
- Flag only what you will chord around. Every flag costs a long-press. In our win, a single flag was enough to unlock two chords.
- Glance at the counter before guessing. Near the end, "charges left" often turns a guess into a certainty, exactly as in step 6 above.
- Density is the real difficulty dial. At 9% a 31-column board had 36 charges; at 15% the same board had 60. We didn't play the extreme settings, so start low and work up.